Patch-tracked guide
Valheim Forsaken Powers — All Boss Buffs, Effects and When to Use Them
Every Forsaken Power in Valheim: unlock at Sacrificial Stones, what each boss buff does, which power to set before each fight or crossing.
By Valheim Field Guide Editorial Team
Need the exact numbers? Browse the Database →
What a Forsaken Power is
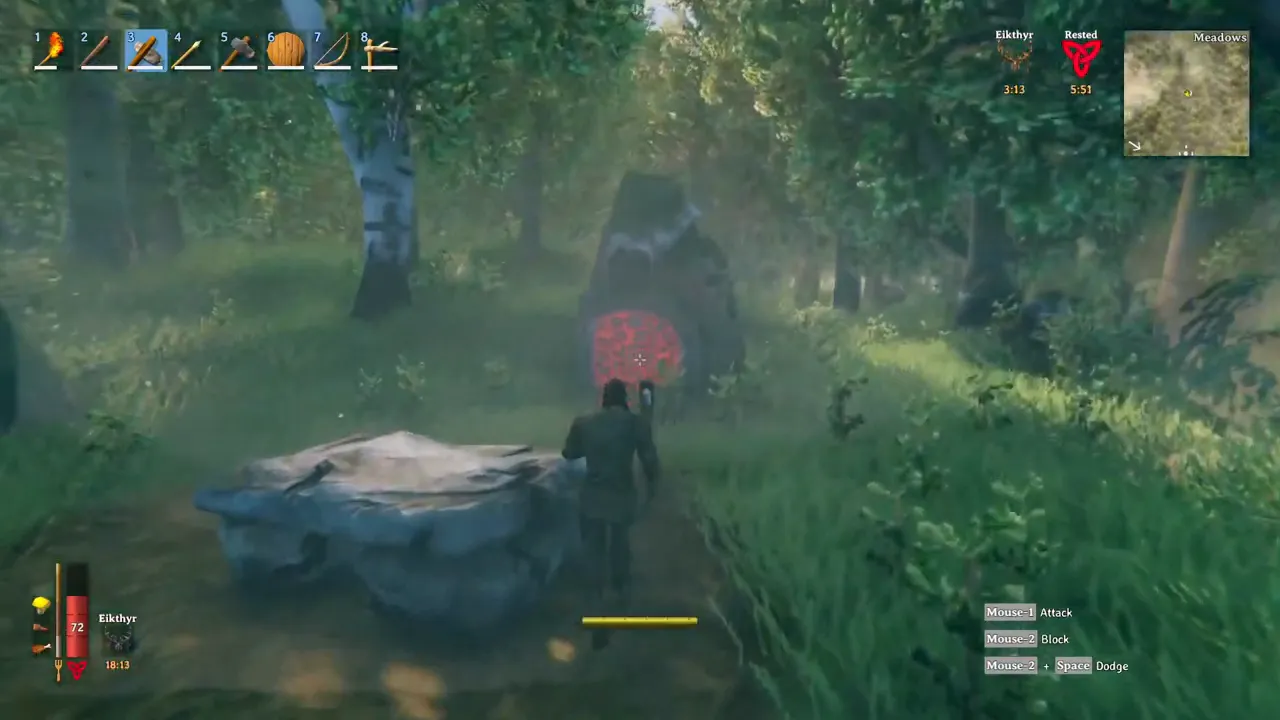
Every Forsaken boss drops a trophy. Hang that trophy on the Sacrificial Stones — the ring of standing stones near the centre of every generated world map — and the boss’s power becomes yours to activate.
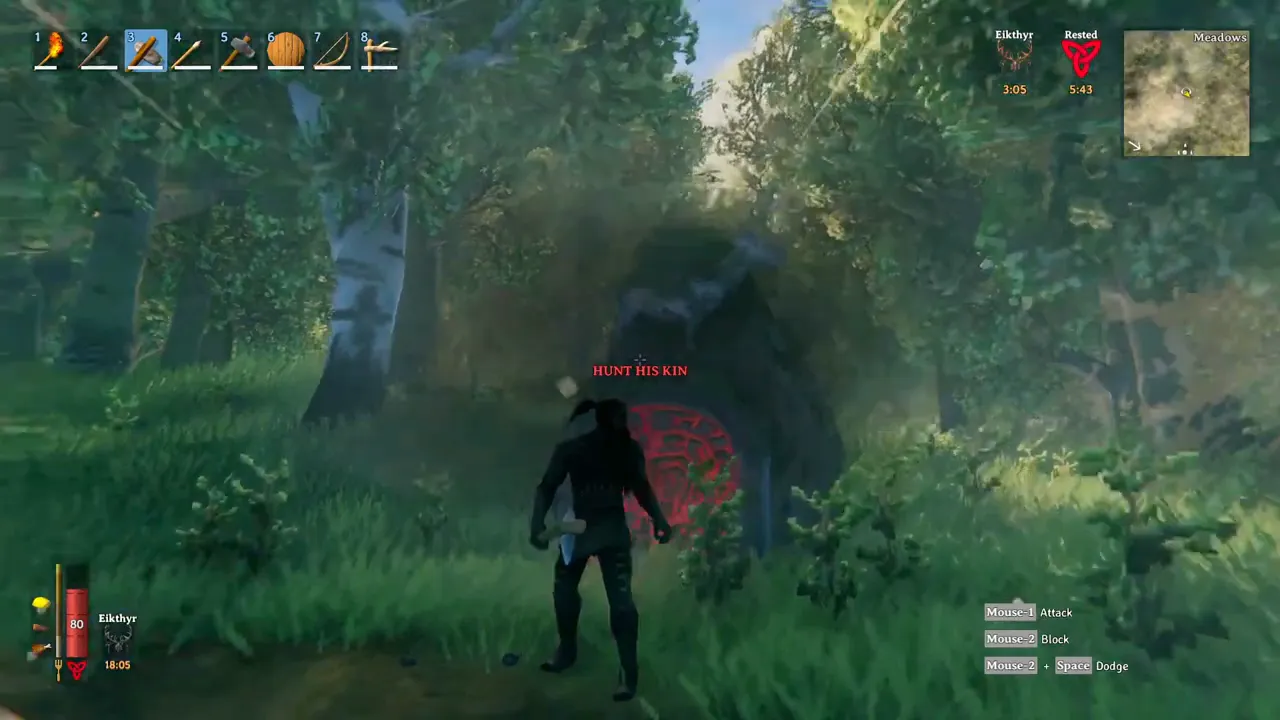
Two rules shape how you use them:
- Only one power can be set at a time. To change which one you carry, walk back to the Sacrificial Stones and interact with a different mounted trophy.
- Powers are timed buffs, not passive gear. Activating one locks you into a short animation. Treat them as buttons you press before a push, not something that is always on.
Verified against 1.0 release: all power effects listed below, including duration, are confirmed from the Call to Arms rework (patch 0.221.4) and cross-checked against 1.0 boss pages and independent guides. See our verification workflow.
All Forsaken Powers
The exact values below are from the Call to Arms rework (patch 0.221.4) — the update that rebalanced every Forsaken Power. If you are reading this on an older build, the numbers may differ.
| Boss | Biome | Effect (Call to Arms values) |
|---|---|---|
| Eikthyr | Meadows | 60% reduced stamina usage for running, jumping and swimming |
| The Elder | Black Forest | 60% increased chopping and mining damage, 30% increased health regeneration |
| Bonemass | Swamp | 25% resistance versus pierce, slash and blunt; 100% reduced block stamina usage, 5 stamina returned per block |
| Moder | Mountain | A tailwind while sailing (lasts 300s), +300 carry weight, 10% increased movement speed, 50% frost resistance |
| Yagluth | Plains | 50% lightning resistance, +25 Farming skill, 10% increased damage |
| The Queen | Mistlands | 100% increased Eitr regeneration, 100% reduced sneak cost, 50% poison resistance |
| Fader | Ashlands | 100% increased Adrenaline gain, 50% reduced stagger when hit, 50% fire resistance |
Note on versions: older pre-Call-to-Arms material describes these effects in broad terms (e.g. Yagluth as “broad elemental resistances”). The table above reflects the current 1.0 values from the official patch notes — use these, not the older descriptions.
Which power to set, by situation
- Boss fights and dense combat: Bonemass. The physical resistance covers most of what hits you, and free blocking changes the whole risk calculus of a shield build.
- Long exploration, running, swimming, climbing: Eikthyr. Stamina is the resource everything else spends, so this stays useful from the Meadows to endgame.
- Gathering runs and mining: The Elder. Faster chop and pickaxe damage shortens every resource loop, and the health regeneration helps when you are working far from a bed.
- Ocean crossings and hauling ore: Moder. The guaranteed tailwind removes the single biggest variable in sailing, and the carry-weight bonus is why players set it for metal runs.
- Staff and magic builds: The Queen. Doubled Eitr regeneration is the difference between a magic build that works and one that stalls.
- Fire-heavy regions: Fader. Fire resistance plus reduced stagger is built for the Ashlands and for endgame content that keeps hitting you while you burn.
- Farming and lightning-heavy fights: Yagluth. Situational, but the Farming bonus is the only way to accelerate crops.
Using powers in a group
Each player unlocks and sets their own powers, so a party can cover several situations at once: one player on Bonemass for the fight, one on Eikthyr for the approach, one on Moder for the sail home. Coordinate before you leave — switching means walking back to the Sacrificial Stones, which are always at the world centre and never near where you are standing.
A note for base builders: the area immediately around the Sacrificial Stones is protected, so you cannot build there. Plan your portals and outposts around it.
Related
- Run through the 5-item boss prep checklist before you go — summon, resistance, weapon, food and which Forsaken Power: boss preparation checklist
- Boss-by-boss summoning, patterns and drops: boss guides
- The gear that stays equipped while the power runs: armor sets · weapon tier list
- Where each boss sits in the route: progression
- Pair each power to a specific fight or biome: Forsaken Power build pairings

Found this helpful? Support the wiki ☕
Buy me a coffeeFrequently asked questions
- How do I get a Forsaken Power?
- Defeat a boss, take the trophy it drops, and hang it on the Sacrificial Stones — the ring of standing stones at the centre of the world map. The matching power then becomes available to you.
- Can I have more than one Forsaken Power active?
- No. Only one power can be set at a time, and switching means returning to the Sacrificial Stones and interacting with a different mounted trophy. Activate the power you have set with the Forsaken Power key (F by default on PC).
- Which Forsaken Power is the best?
- Bonemass for fighting (broad physical resistance plus a block-stamina bonus), Eikthyr for everything else (stamina is the resource the whole game runs on), Moder for hauling and ocean crossings, and The Queen for staff builds. The right answer changes with what you are about to do.
- Do Forsaken Powers work in multiplayer?
- Yes. Each player unlocks and sets their own powers. In a group it is worth coordinating who activates which power before a boss push, since you only get one active at a time per player and switching requires a trip back to the stones.
- How long do Forsaken Powers last?
- Each power lasts 5 minutes and has a 20-minute cooldown. The cooldown does not reset on logout, switching power or sleeping, and the active buff is shared with allies standing within 10 metres of you.
- Where are the Sacrificial Stones?
- At the centre of every generated world map, in the Meadows — a ring of standing stones you cannot miss. The area immediately around them is protected, so you cannot build there; plan your portals and outposts around it.
- Do Forsaken Powers work on console (Xbox, PS5, Switch 2)?
- Yes. The mechanic is identical on console — defeat a boss, hang its trophy at the Sacrificial Stones, and activate the power you have set. Only one power is active per player at a time, the same as on PC.
Related guides
- Valheim Best Bow (1.0) — Every Bow & Crossbow, Ranked by Damage
Every Valheim bow and crossbow with base pierce damage, crafting station and progression tier — plus arrow damage, so you can pick the best ranged weapon for your biome.
Verified Valheim 1.0 - Valheim Block Armor vs Block Force — What Each Shield Stat Does (1.0)
Block Armor cuts the damage you take while blocking; Block Force is the knockback you shove back at the attacker. How both stats work, the stagger bar, and every shield compared.
Verified Valheim 1.0 - Valheim Moulds & Casts (1.0) — Every Mould and What It Casts
How Valheim moulds and casts work, with every mould item grouped by the gear it produces — metal, armor and weapon casting in 1.0.
Verified Valheim 1.0
Related in the database
Compare the 181 weapons and 169 armors weapons and armors, with stats and crafting recipes.
Found an error?
If a number, drop, cost or interaction looks wrong in your game, we want to hear about it.