Patch-tracked guide
Valheim 1.0 Beginner Guide — First Days, Food, Gear & Progression
A detailed 10-step first-days path for Valheim 1.0: your starting biome, what to gather, how food and stamina work, a practical starter base, your first boss Eikthyr, and the full biome progression loop — with checklists, tables, and deep-dive links.
By Valheim Field Guide Editorial Team
Watch the 10-step beginner guide
Please accept cookies to enable this feature.
New to Valheim 1.0, or returning after a long break? This page is the written companion to our beginner’s guide video. The video shows you the moves; this guide gives you the checklists, order, and reasoning you can copy as you play.
Valheim drops you into a hostile but fair world with almost no hand-holding. Your first hours are about learning a loop: explore a biome → gather its resources → craft better gear → prepare for its boss → move on. Get that loop turning and the rest of the game follows.
If you want the no-spoiler, narrated version, start with Start here — your first 10 hours. If you want the full route across every biome, see the Full progression guide.
Your first 30 minutes — quick checklist
Don’t overthink day one. Work through this list and you’ll be safely through your first night with real momentum:
- Punch trees and rocks — collect ~20 wood and ~10 stone by hand.
- Craft a Stone Axe, then a Workbench (place it, then it must sit under a roof).
- Build a tiny base: a 4×4 hut with a roof, a campfire, a bed, and a chest.
- Craft a bow and ~10 arrows; pick up flint along any shoreline.
- Cook 2–3 different foods and eat all three food slots before doing anything risky.
- Mark your map: the nearest Black Forest edge and the glowing Eikthyr altar.
- Set your spawn by sleeping in the bed once (optional but strongly recommended).
- Craft a leather or bronze-tier weapon before venturing far from home.
Each of those bullets opens into a deeper guide below.
1. Learn your starting area
The Meadows is your usual starting biome — flat, green, and the safest place to learn the survival loop before pushing into the Black Forest. When you spawn, take a minute to read your surroundings:
- Berry bushes give early food; rocks and fallen branches give your first stone and wood.
- Abandoned houses sometimes contain loose wood, leather scraps, and a free bed.
- Boars can be killed for leather (and later tamed), but ignore them until you have a weapon.
- Greydwarves only appear near the Black Forest edge at night — stay in the open Meadows after dark until you’re geared.

Pro tip: Open your map (default
M) and drop a marker on anything you want to return to. Your future self will thank you.
- Full biome breakdown: Meadows overview
- The no-spoiler starter path: Start here — your first 10 hours
- Want to scout a whole world before you sail? Our free interactive map generates any seed’s biomes, boss altars and trader spawns in real time.
2. Gather the right resources first
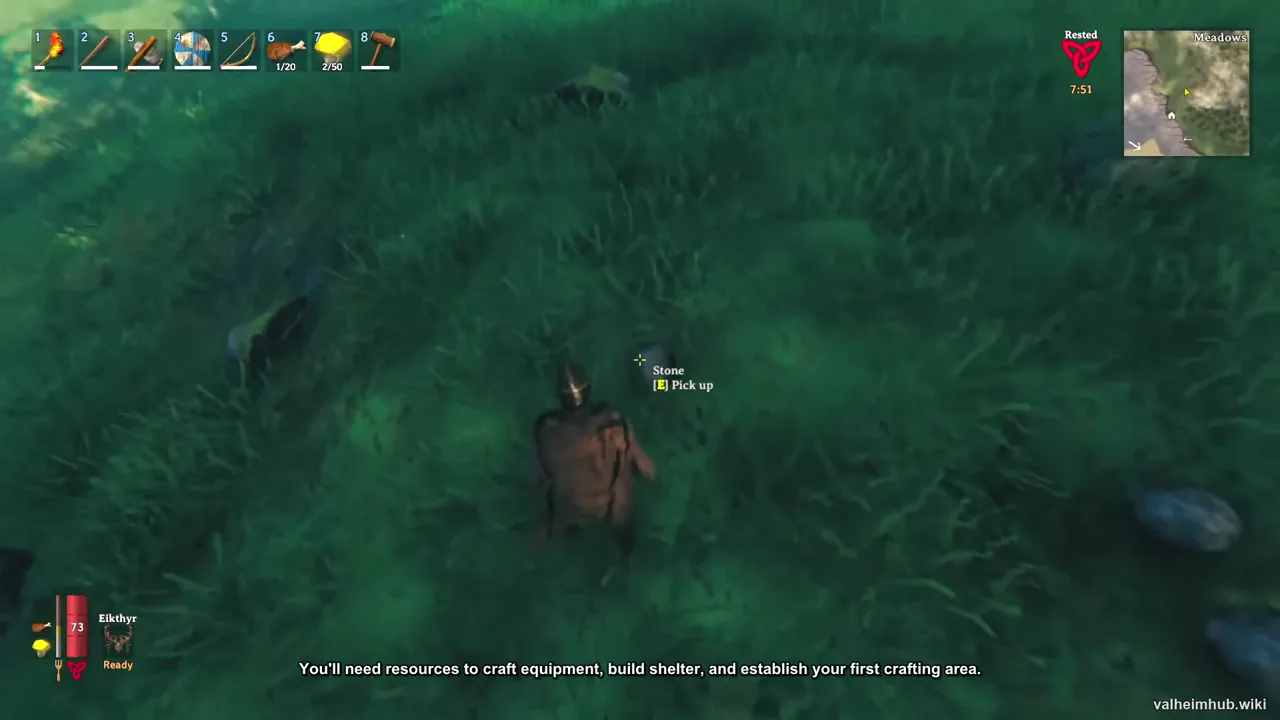
Prioritize wood and stone early — you need them for tools, shelter, and your first crafting stations. As you progress, the priority shifts:
| Priority | Resource | Where | What it’s for |
|---|---|---|---|
| 1 | Wood | Trees, branches | Tools, base, arrows |
| 2 | Stone | Rocks, shorelines | Workbench upgrades, building |
| 3 | Flint | Shorelines | Better axe/knife, arrows |
| 4 | Leather scraps | Boars, burial grounds | Armor, the first bow |
| 5 | Core wood | Pine trees (Black Forest) | Stronger base pieces, ports |
Don’t vacuum up everything. Collect toward your next tool or upgrade so you spend time progressing, not inventory-managing.
Common mistake: Hoarding 200 stone in your pockets. Stash it in a chest at base and only carry what your current goal needs.
3. Understand food and health
Food is one of the most important systems in Valheim, and new players consistently underestimate it. You have three food slots, and each filled slot adds its own health and stamina on top of your base stats. Empty slots mean you’ll die fast and tire instantly.
Early foods to aim for:
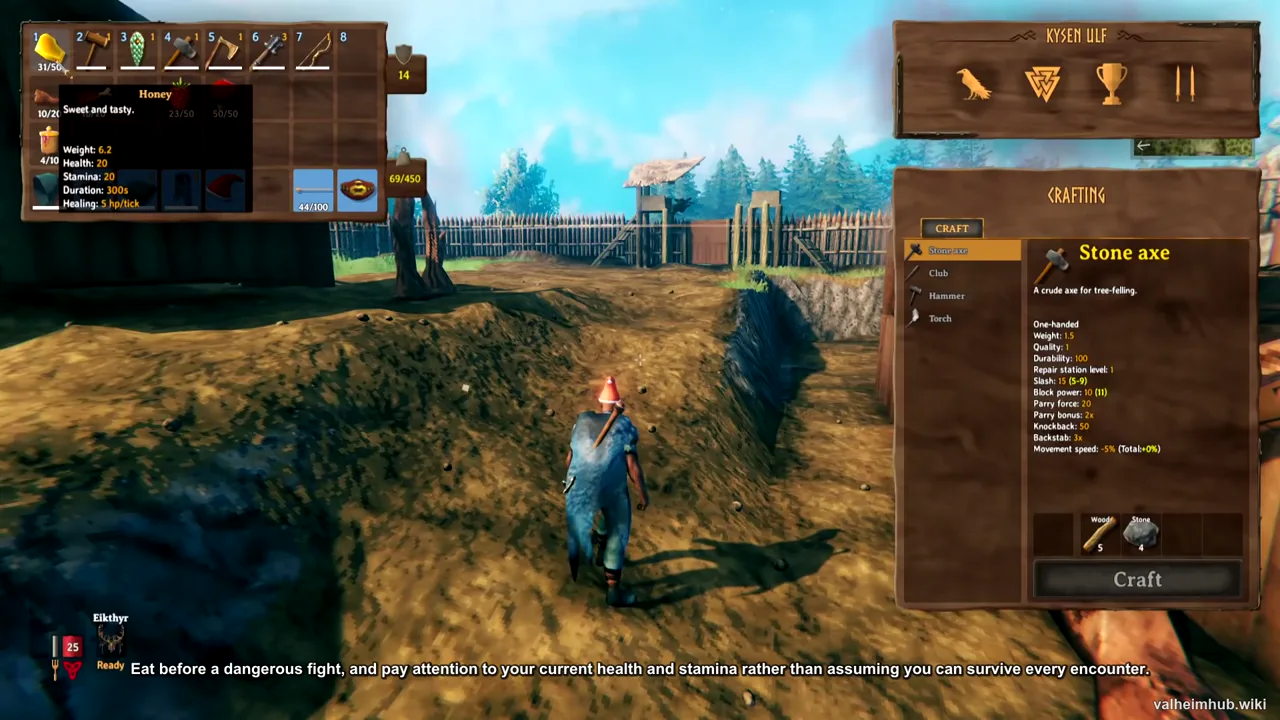
- Cooked meat / cooked boar meat — your first real health food.
- Queen’s jam (honey + raspberries) — cheap stamina.
- Honey or raspberries — a filler slot in a pinch.
- Carrots (farm later) — a stable, renewable staple.
Eat a varied spread before any real fight: one health food, one stamina food, one filler. See exactly how the math works in Food and meals, and the three systems that matter early in Survival basics.
Pro tip: Stamina regenerates faster when you’re not sprinting or blocking. Step back mid-fight, let the bar refill, then re-engage.
4. Craft the tools you actually need
Don’t craft everything at once — you’ll burn resources you’ll need later. Focus on tools that help you gather, cook, and build:
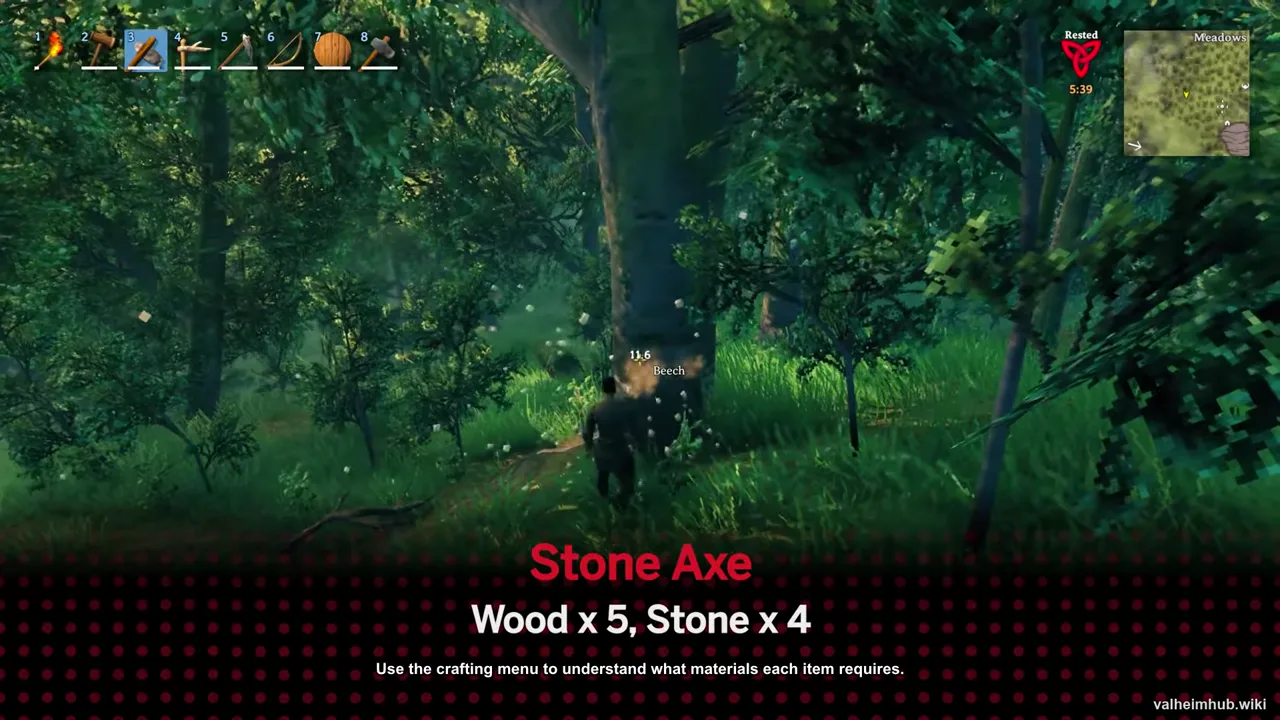
- Stone Axe — faster wood than your fists.
- Workbench — unlocks repairs and most building.
- Hammer — place structures (needs the workbench nearby).
- Flint Axe / Flint Knife — better gathering and a real weapon.
- Bow + arrows — ranged damage keeps you safe vs. melee enemies.
The crafting menu shows what each recipe needs. When something is locked, it’s telling you which resource or station to chase next — that’s your to-do list.
5. Build a simple starter base
You don’t need a great hall on day one. A small, functional base is enough to survive and to stage your next trips. The minimum:
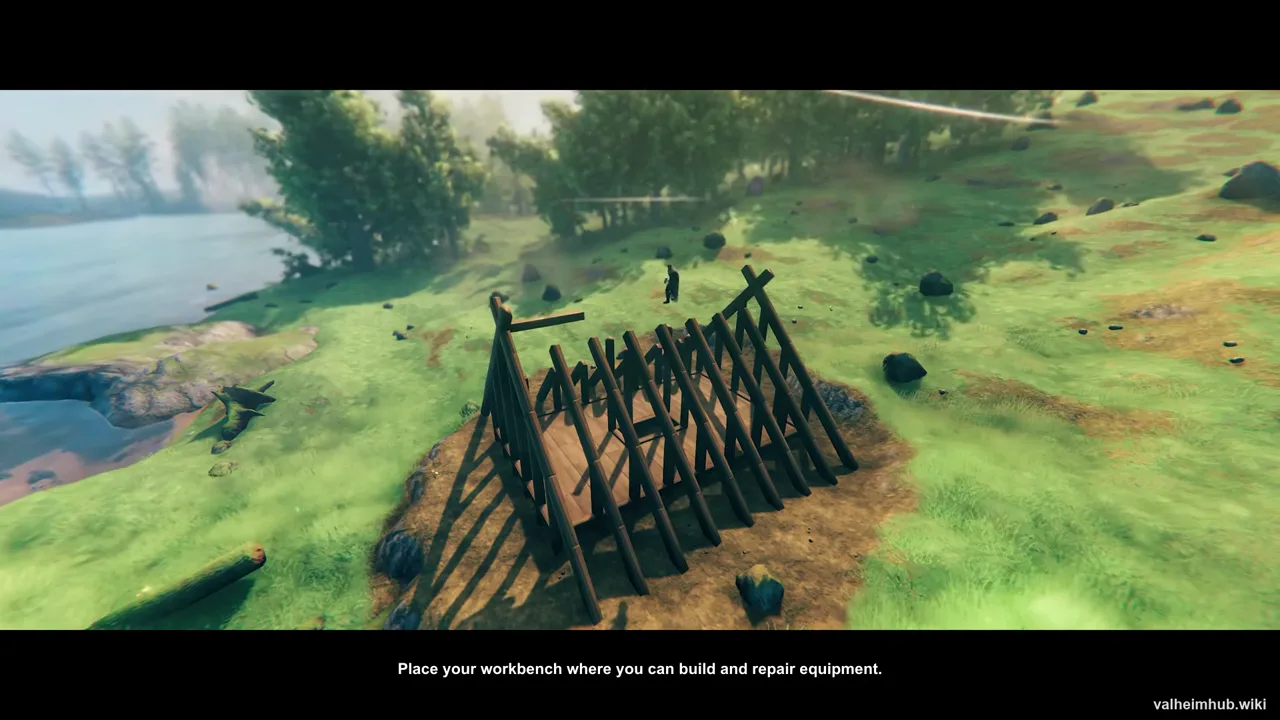
- A workbench under a roof — without cover it won’t function.
- Storage (chests) so you’re not over-encumbered in the field.
- A campfire (with clearance above it) for the Rested bonus, which boosts health and stamina regen.
- A bed to set your spawn.
Expand once you have the materials and, crucially, a boat to cross water. Building fundamentals live in Building basics.
Common mistake: Building the workbench out in the open. Rain and lack of a roof disable it — throw a 3×3 roof over it before you do anything else.
6. Prepare before nightfall
Night makes exploration harder while you’re still learning enemy behavior. Before venturing far:

- Pack food for all three slots and a spare stack.
- Bring a weapon you’re comfortable with plus ~20 arrows if you carry a bow.
- Carry wood and stone so you can build a quick shelter or campfire away from base.
Returning home to prepare better is always a valid choice — Valheim doesn’t punish retreat.
7. Manage stamina in combat
Combat isn’t only about damage. Attacking, sprinting, blocking, and dodging all draw from your stamina bar, and when it’s empty you can’t attack, block, or run. Learn the economy:
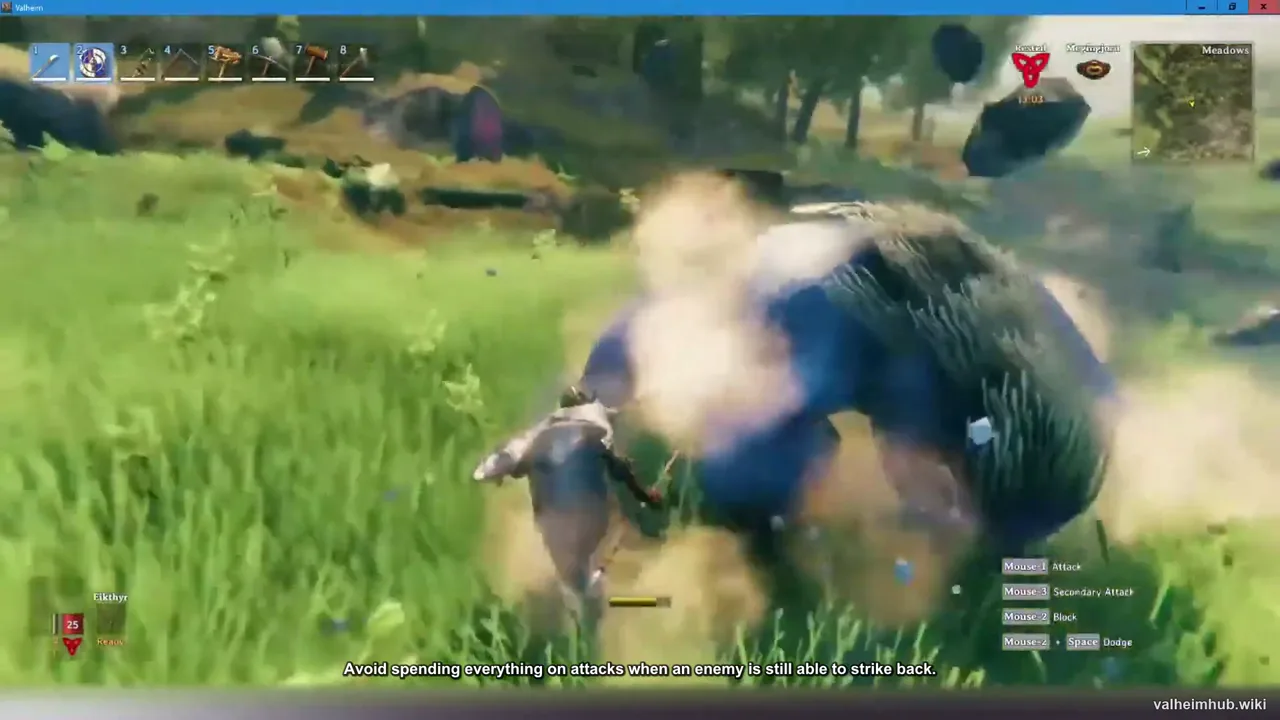
- Practice on Greylings and boars — weak enemies that teach timing without risking much.
- Block with a shield to negate damage and stagger; dodge (roll) to avoid heavy hits.
- Don’t spam attacks — one or two swings, then watch your stamina.
Combat fundamentals are in Combat basics.
Pro tip: A shield is the single best early survival upgrade. Even a wooden buckler turns scary moments into manageable ones.
8. Explore with a plan
Once you’re geared, the Black Forest and beyond open up. Explore deliberately:
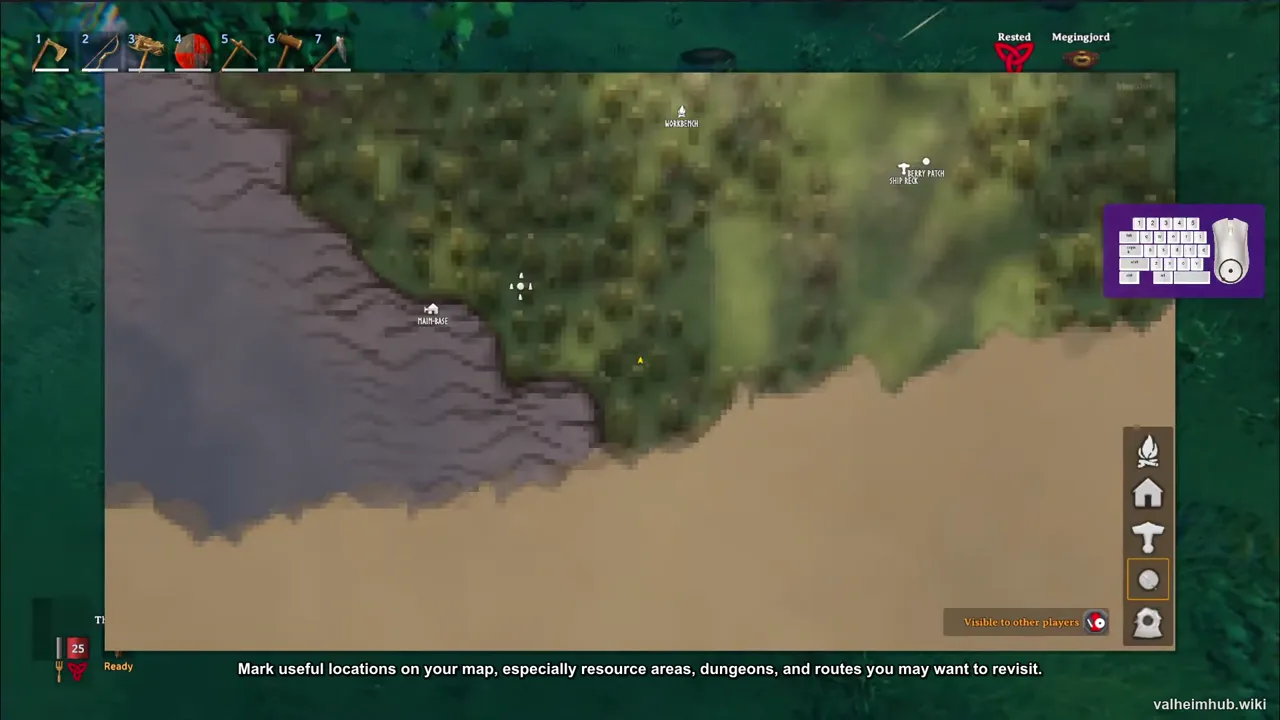
- Mark resource spots, dungeons, and burials on your map for return trips.
- Carry what the trip needs — and think about how you’ll get back with your haul (a boat, or later a portal).
- Don’t over-loot — weight slows you and drains stamina while running from danger.
9. Prepare before fighting Eikthyr
Eikthyr is the first Forsaken boss most players meet, summoned at a glowing altar in the Meadows. He’s tough but fair if you prep:
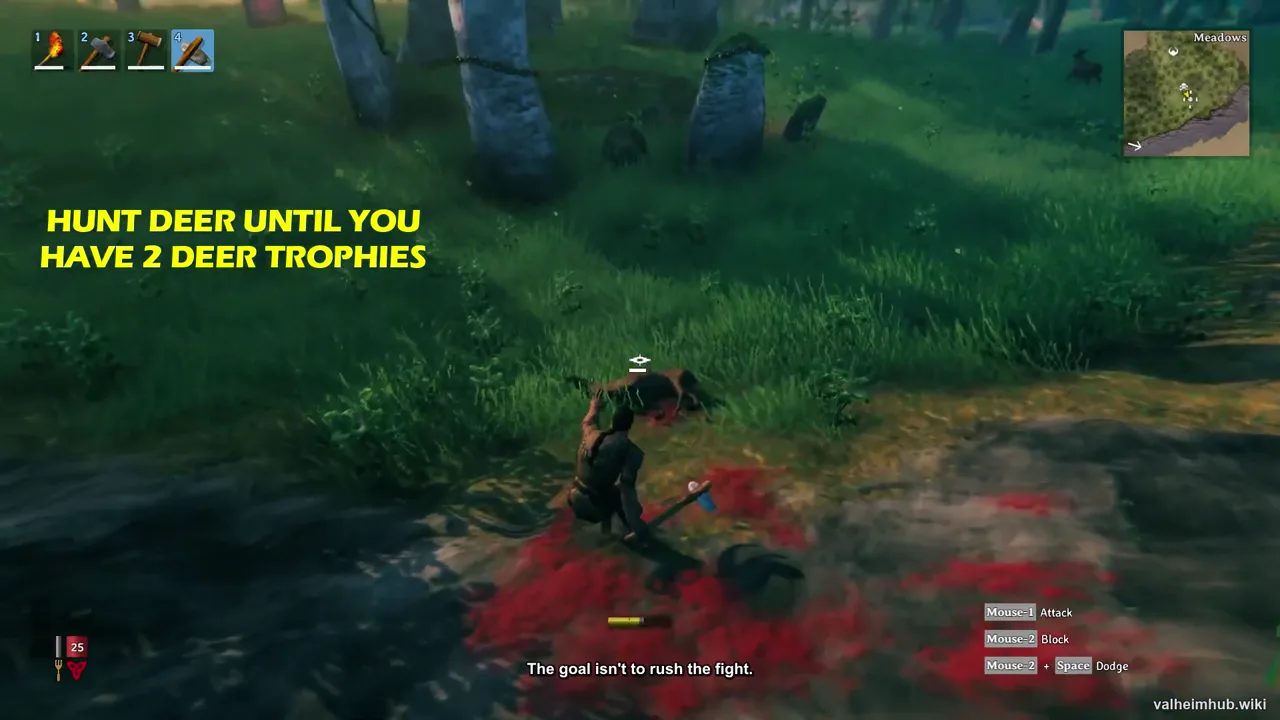
- Gear: leather or bronze-tier armor and weapon; a bow with ~20+ arrows.
- Food: all three slots filled with your best available.
- Terrain: fight in the open; use the altar’s natural clearings and kite him around.
- Reward: his hard antler crafts the pickaxe, which unlocks copper and tin → bronze, the first real tech tier.
Step-by-step: How to beat Eikthyr. General prep for every boss: Boss preparation checklist.
10. Follow the progression loop
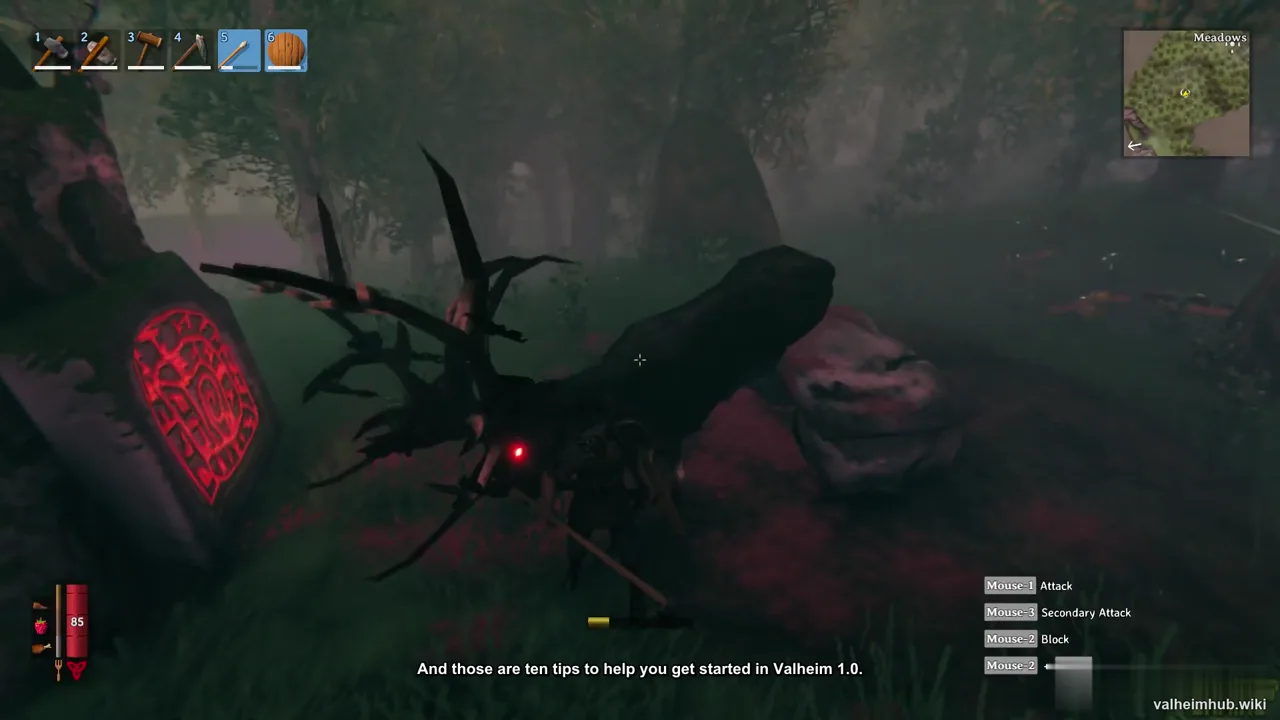
Valheim’s core loop is simple and it scales across the whole map. Each biome gates the next through its Forsaken boss, so your next objective is usually one crafting recipe or one altar away.
| Biome | First boss | Unlocks / why it matters | When to go |
|---|---|---|---|
| Meadows | Eikthyr | Safe start; first pickaxe via antler | First |
| Black Forest | The Elder | Copper/tin → bronze; crypts, sap | After Eikthyr |
| Swamp | Bonemass | Iron; the real gear plateau | Mid-game |
| Mountain | Moder | Silver; frost resist | After iron |
| Plains | Yagluth | Black metal; endgame prep | Late-game |
| Mistlands | The Queen | New tech tier | Endgame |
| Ashlands | Fader | Final biome | Endgame |
| Deep North | — | Late content | Endgame |
The full route, with maps and order, is in the Full progression guide. If you want the first two hours mapped beat-by-beat, see the First-two-hours roadmap.
First-day gear & station unlock order
A compact reference for what to build and what each unlocks:
| Build / station | Unlocks | Notes |
|---|---|---|
| Stone Axe | Faster wood | First real tool |
| Workbench | Repairs, building | Must be under a roof |
| Hammer | Structures | Place near workbench |
| Flint Axe / Knife | Better gather + weapon | Upgrade from stone |
| Bow + arrows | Ranged damage | Safest early DPS |
| Forge (bronze) | Metal tools/weapons | Needs copper + tin |
| Cauldron | Cooked meals | Better food than campfire |
| Smelter / Kiln | Process ore | Required for metal tier |
FAQ
Do I have to fight Eikthyr first? Yes — he’s the gate to bronze and the rest of progression. He’s beatable with leather gear, a bow, and patience.
What’s the best starting food? Cooked meat plus Queen’s jam (honey + raspberries) fills two slots cheaply; add honey or a berry for the third.
Why isn’t my workbench working? It needs to be under a roof with a small buffer of clearance. Build a 3×3 roof over it.
How do I heal? Eat (food grants health regen over time) and rest at a campfire/bed for the Rested bonus. There’s no instant heal potion early.
Best beginner weapon? A bow keeps distance and is safe; pair it with a shield so you can block when enemies close in.
When can I build portals? After you reach the Swamp tier and craft the materials — they’re a mid-game convenience, not a day-one tool.
Solo or co-op first? Either works; co-op shares the load but solo teaches the loop faster. The guides here assume solo-friendly pacing.
Keep going
This is only the opening of the tenth world. Your next clicks:
- Eat and survive better → Food and meals
- Beat your first boss → How to beat Eikthyr
- Plan the whole run → Full progression guide
Subscribe to QuestForge for more Valheim walkthroughs, boss strategies, and practical tips — and use the video above as your visual companion while you play.

Found this helpful? Support the wiki ☕
Buy me a coffeeRelated guides
- Valheim Combat Basics — Stamina, Blocking, Parrying and Damage Types
Valheim combat fundamentals: stamina for swings and blocks, block vs parry timing, dodging, damage types and resistances, pull enemies over packs.
Verified Valheim 1.0 - Valheim First Ocean Crossing — Getting Your First Boat and Sailing to a New Biome
First Valheim ocean crossing: your first boat source, building a dock, reading the wind, and the checklist that keeps your long trip safe.
Verified Valheim 1.0 - Valheim First Two Hours — A Minute-by-Minute Roadmap for New Players
Your first 120 minutes of Valheim: avoid dying on the first night, unlock Workbench and Forge fast, beat Eikthyr within your very first session.
Verified Valheim 1.0
Related in the database
Browse the 1035 items items, creatures and traders in the game database.
Found an error?
If a number, drop, cost or interaction looks wrong in your game, we want to hear about it.